Assessment gets stressful (for students and teachers) when “quality” is unclear, feedback arrives too late, and the only evidence that matters is the final product. Agile assessment flips that: it makes expectations visible early, uses short feedback loops, and treats learning as a process you can observe and improve.
Agile doesn’t mean “faster” or “more tools.” It means clear criteria, small increments, and continuous improvement—with the teacher firmly in control.
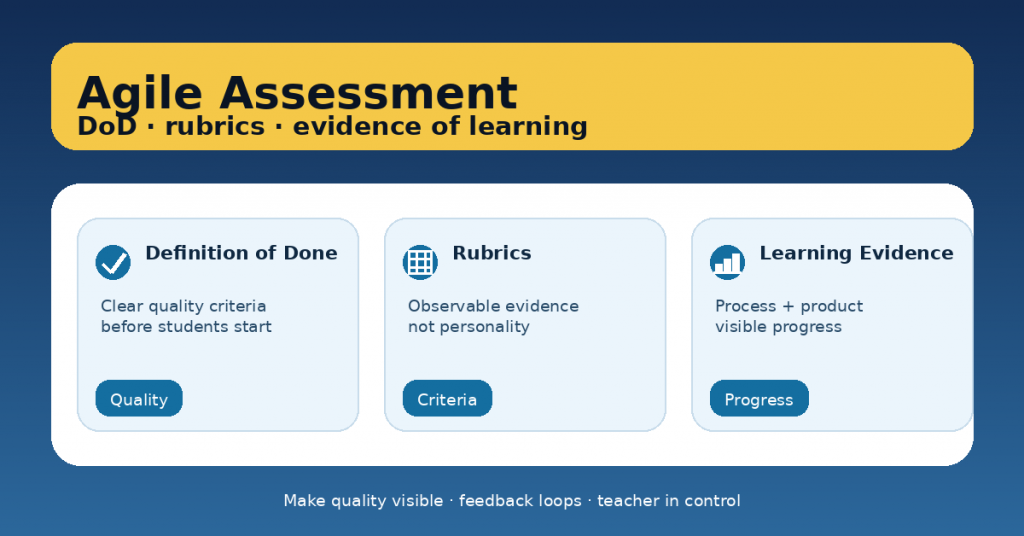
This article gives you a practical way to combine three powerful elements:
-
Definition of Done (DoD) to clarify quality before students start,
-
rubrics that focus on observable evidence,
-
evidence of learning that captures progress, not just performance.
1) What “Agile assessment” really means in classrooms
Agile assessment is a set of habits:
-
Define quality upfront (DoD + rubric in student language)
-
Work in small increments (drafts, checkpoints, mini-submissions)
-
Use short feedback loops (quick checks + next steps)
-
Make learning visible (process evidence + reflection)
-
Improve the system (tiny adjustments every cycle)
The goal is not more grading. The goal is less guessing, more learning.
2) Definition of Done (DoD): the “quality contract”
In Agile teams, DoD means “what must be true for this to count as finished.” In classrooms, it becomes a student-friendly checklist that prevents common problems:
-
unclear expectations,
-
last-minute panic,
-
“I thought this was enough.”
A classroom DoD has three features
-
Short (5–8 items)
-
Observable (anyone can check it)
-
Non-negotiable (it defines “done,” not “excellent”)
Example: DoD for a persuasive paragraph
A paragraph is “done” when it:
-
☐ states a clear claim
-
☐ includes at least 2 pieces of relevant evidence
-
☐ explains reasoning (how evidence supports the claim)
-
☐ uses 2 connectors for cohesion
-
☐ has correct paragraph structure (topic sentence + support + closing)
-
☐ has been revised once using peer/teacher feedback
Teacher tip: Make DoD the gate to submission. If DoD isn’t met, it’s “not yet,” not “bad.”
3) Rubrics: measure evidence, not personality
Rubrics work best when they:
-
describe what students produce, not who they are,
-
focus on evidence and impact,
-
stay small enough to use quickly.
Build rubrics around 3–5 criteria
Good criteria sound like:
-
“Uses evidence accurately”
-
“Explains reasoning”
-
“Structure supports meaning”
-
“Language is appropriate for audience”
-
“Revision improves clarity”
Avoid criteria like:
-
“Effort”
-
“Attitude”
-
“Participation” (unless defined with observable indicators)
Use a 4-level scale (simple, readable)
-
Beginning → Developing → Proficient → Advanced
Or -
Not yet → In progress → Meets → Exceeds
Teacher tip: Add one anchor example for “Meets” to reduce confusion and speed feedback.
4) Evidence of learning: product + process + reflection
Traditional assessment often captures only the final result. Agile assessment captures learning over time.
Think in three layers:
A) Product evidence (what they make)
-
final text, presentation, solution, project output
B) Process evidence (how they got there)
-
drafts, checkpoints, planning notes, research log
-
peer feedback notes
-
revision history or “before/after” snapshots
C) Reflection evidence (what they learned)
-
a short self-assessment:
-
“What changed after feedback?”
-
“What misconception did I fix?”
-
“What will I do differently next time?”
-
Teacher tip: Process evidence doesn’t need to be long. Even a photo of a draft + a 3-sentence reflection is powerful.
5) The Agile Assessment Loop (a practical routine)
Here’s a simple loop you can run weekly or per project sprint:
Step 1: Set the target (5 minutes)
-
Share the rubric + DoD
-
Show a “Meets” example
-
Students highlight the 2 criteria they’ll focus on
Step 2: Build in increments (during work time)
-
One mini-checkpoint: “Show me evidence for criterion #2”
-
One peer check: DoD checklist + one “grow” comment
Step 3: Give feedback as next steps (fast, actionable)
Use a consistent format:
-
Glow: one thing that meets criteria
-
Grow: one focus only
-
Next step: a specific action (“Add one piece of evidence and explain how it supports your claim.”)
Step 4: Require revision (where learning happens)
No revision = feedback wasted.
Even a 10-minute revision window makes a difference.
Step 5: Close with a mini-retro (2 minutes)
-
“What helped you meet the DoD?”
-
“What will you change next time?”
That’s Agile: learn, adjust, repeat.
6) Common pitfalls (and quick fixes)
Pitfall: DoD becomes a bureaucracy list
Fix: Keep it short and essential. DoD = “minimum quality,” not “everything.”
Pitfall: Rubric language is too abstract
Fix: Rewrite criteria into student language and add one anchor example.
Pitfall: Too much evidence to manage
Fix: Choose one process artifact per cycle (e.g., one draft photo + one reflection).
Pitfall: Feedback takes forever
Fix: Use “one focus only” + banks of feedback stems aligned to your rubric.
7) A ready-to-copy template (DoD + rubric + evidence)
Use this structure for any task:
Definition of Done (5–8 items):
-
☐ …
-
☐ …
Rubric (3–5 criteria):
-
Criterion 1: …
-
Criterion 2: …
-
Criterion 3: …
Evidence to submit (2–3 items):
-
Final product
-
One draft checkpoint (photo/screenshot)
-
3-sentence reflection (what changed + why)
This setup makes quality visible and reduces “surprise grading.”